
Food photography is an art that requires not only technical skill but also an understanding of composition, lighting, and the unique qualities of food. Whether you’re an aspiring food photographer or a seasoned pro looking to refine your craft, capturing stunning food photos is about more than just pointing and shooting. It’s about telling a story, evoking emotions, and making the viewer want to reach through the screen and take a bite.
In this blog, we’ll break down the essential steps and techniques that will help you elevate your food photography game and create visually striking images that showcase the beauty and deliciousness of your food.
1. Understanding the Basics of Composition
Composition is the foundation of any great photograph, and food photography is no exception. The way you arrange your subject, props, and lighting can significantly affect how the viewer perceives the image.
The Rule of Thirds
The rule of thirds is one of the most fundamental principles of photography composition. Imagine dividing your frame into a 3×3 grid with two horizontal and two vertical lines. The idea is to place your subject along these lines or at the points where they intersect. This creates balance and allows the eye to move through the image naturally.
When photographing food, try placing your dish off-center to create a dynamic and engaging composition. For example, if you’re photographing a bowl of soup, you can place the bowl slightly to the right or left, leaving room for the spoon or garnish to lead the viewer’s eye into the frame.
Leading Lines
Leading lines help guide the viewer’s eye through the image. In food photography, lines can be created by ingredients like a trail of olive oil, a line of herbs, or even the edge of a table. These lines should lead to the focal point of your shot, often the food itself, creating a sense of movement and flow in the image.
Negative Space
Don’t overcrowd your food photos with too many props or elements. Negative space, or the empty space around the subject, can help create a sense of elegance and simplicity. It allows the food to take center stage without distraction. A clean background or a simple cloth can help the dish stand out and make the photo feel more polished and professional.
2. Lighting: The Key to Stunning Food Photography
Lighting is arguably the most important aspect of food photography. The way you light your subject can make the difference between a bland, flat image and one that’s vibrant, appetizing, and full of texture. Natural light is often the best choice for food photography because it produces a soft, flattering effect that enhances the textures and colors of the food.
Use Natural Light Whenever Possible
When shooting food, try to shoot near a large window or in a well-lit room. Soft, diffused natural light from the side or behind the subject will help bring out the details in the food and create beautiful shadows. Avoid direct sunlight, as it can cause harsh shadows and overexposure.
Position Your Lights
When using natural light, positioning your food near the light source is crucial. Side lighting is often the most flattering because it highlights the texture and shape of the food. You can also use backlighting to create a glowing effect, especially for drinks like cocktails or items with a transparent element like clear broth or gelato.
Bounce the Light
If your food is looking too flat or shadowed, you can bounce the light to fill in the shadows and create more contrast. Use a white foam board or a reflector to bounce light back onto the food. This will soften the shadows and create a more balanced look.
Artificial Lighting and Light Modifiers
If natural light isn’t available or the time of day isn’t right for shooting, you can use artificial lighting. A softbox or umbrella light will mimic the diffused light of a cloudy day and can be positioned to create soft, even lighting on your food. Make sure to diffuse your lights to prevent harsh shadows and bright spots.
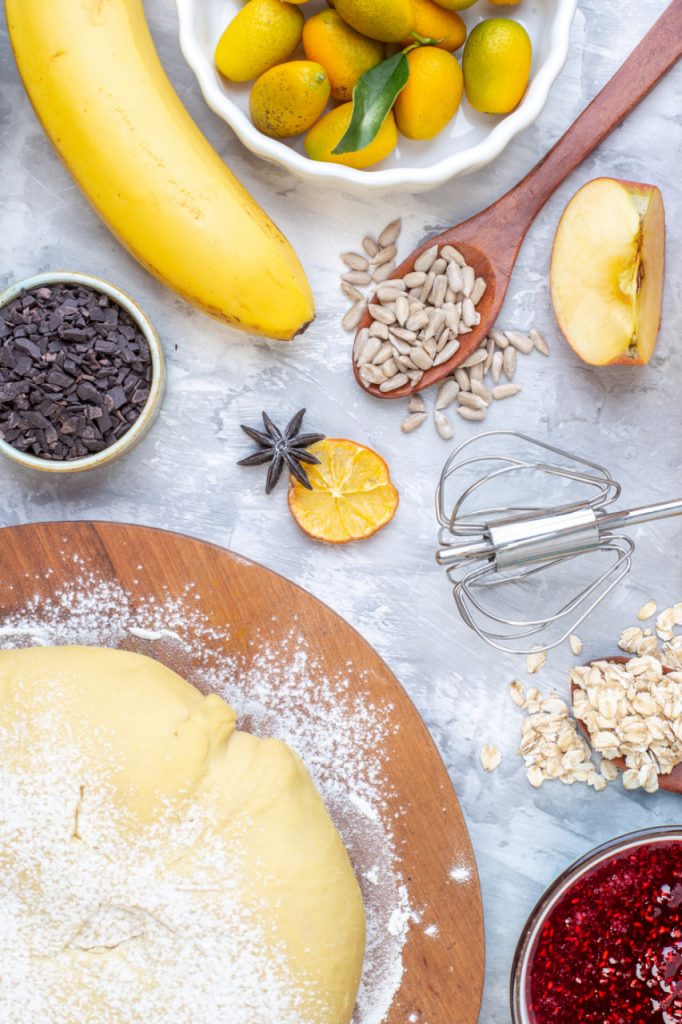
3. Choosing the Right Background and Props
The background and props you choose can greatly impact the overall mood and aesthetic of your food photos. While the food should always be the focal point, the right background and props can enhance the image and bring out the character of the dish.
Choose Simple, Neutral Backgrounds
When shooting food, you generally want the background to complement the food without stealing attention. Neutral backgrounds like wooden tables, simple textured cloths, or clean white surfaces often work well. Avoid overly busy or distracting backgrounds that could take away from the subject.
For rustic or comfort foods, textured backgrounds like weathered wood, stone, or marble can add warmth and authenticity to your photos. For high-end dishes or plated meals, sleek, polished surfaces like white porcelain or glass can help create a refined, clean look.
Use Props Sparingly
Props should be used to enhance the food, not overshadow it. Simple props like a linen napkin, a wooden spoon, or a few scattered herbs can add interest to the composition without distracting from the food itself. Think of props as a way to tell a story — a slice of lemon for a seafood dish or a splash of red wine next to a charcuterie board can bring context and depth to the image.
However, remember that less is often more in food styling. Choose props that complement the food and don’t clutter the frame. The goal is to create balance, not overload the viewer with too many elements.
4. Focus on Texture and Detail
One of the main reasons food photography is so captivating is because it allows the viewer to appreciate the texture and details of the food. Capturing these textures in your images is key to making your food look appetizing.
Close-Up Shots
Close-up shots or macro photography are ideal for showcasing the intricate details of food. Think of the crust of a loaf of bread, the glossy surface of a steak, or the delicate layers of a cake. By focusing on these textures, you invite the viewer to “experience” the food visually.
To capture textures, use a wide aperture (low f-number) to create a shallow depth of field, which blurs the background and draws the focus to the subject. This technique works particularly well for foods like salads, cakes, and pasta, where texture plays a significant role.
Highlighting Movement
Sometimes food photography is about capturing a moment. Whether it’s a drizzle of honey over a pancake or steam rising from a hot bowl of soup, movement can add life to a food photo. Experiment with action shots, like pouring, stirring, or sprinkling, to create a sense of motion in your images.
5. Styling the Food for the Shot
While food styling might seem like an afterthought, it plays an essential role in creating a visually compelling image. Proper styling ensures that your food looks its best and is presented in a way that reflects its character and purpose.
Keep it Simple
Food styling should enhance the dish, not overwhelm it. Avoid overcrowding the plate with too many garnishes or elements. Instead, focus on highlighting the food’s natural beauty, whether it’s the layers in a sandwich or the fresh herbs on a salad.
Think About Color and Contrast
Food is naturally colorful, so use that to your advantage. Bright vegetables like tomatoes, carrots, and peppers can contrast beautifully with darker ingredients like meats or grains. Use contrasting colors to make the dish pop, but avoid clashing or overwhelming the viewer.
Add Garnishes and Finishing Touches
Small garnishes can elevate your food styling by adding texture, color, and freshness. A sprig of fresh herbs, a sprinkle of salt, or a dusting of powdered sugar can all bring an extra dimension to the dish. However, be mindful not to overdo it. Every garnish should serve a purpose and enhance the dish, not detract from it.
6. Post-Processing: Enhancing Your Images
Once you’ve taken the shot, post-processing is the final step in ensuring your food photos look polished and professional. While it’s important to get the best possible shot in-camera, editing can enhance your image and help you achieve the desired mood.
Basic Edits
Make adjustments to exposure, contrast, and brightness to bring out the natural colors of the food. You may also need to tweak the white balance to correct any color casts caused by artificial lighting or different light sources.
Sharpening and Clarity
Food photos should have a sense of sharpness and clarity, especially when it comes to the textures. Use sharpening tools to enhance the details of the food, making the surface of the food look crisp and appetizing.
Cropping
Cropping can help refine the composition and remove any unnecessary elements from the frame. You can also crop for a tighter shot if you want to focus on specific textures or components of the dish.